I love disc golf. I have played it since the 80s when I played Delaveaga Disc Golf Course on weekends with friends, long before it had chain baskets. The pins were just green 4x4s with white stripes. I still have discs I used on that course.
I played less and less over time because it was hard to find a course and people to play with. I live near the Berkeley Aquatic Park now and there is a course there where I have lost too many discs.
At the end of 2022 I was unable to work for an extended period of time because of the weather. I took a 3D Printing class at Ace Makerspace so I could learn how to print some vacuum adaptors for my power tools. I learned about Fusion 360™ and about Ace’s Prusa i3 Mk 2 and Mk 2.5 printers. I dove in and learned a lot about 3D printing on YouTube from Makers Muse and about Fusion 360 from Lars Christensen. I made watching videos from these two channels a part of my daily workout on an exercise bike. They made learning about 3D Modeling and Printing a complete joy.
Then one day I was wondering what I could do with a 3D printer and I was curious to know if it was possible to print a scale flying disc. I had the idea that it might be fun to throw around. I tried printing one that was about 50mm across and about 4mm thick. It came out like a solid coin and it was too small for me to throw by hand with any kind of control. I tried all kinds of techniques but it wasn’t useful or fun.
Then I tried a rubber band to flick it and that was dangerous. It was very small and relatively heavy for its size and it ricocheted around the room. I’m sure it left a mark in the wall where it first hit.
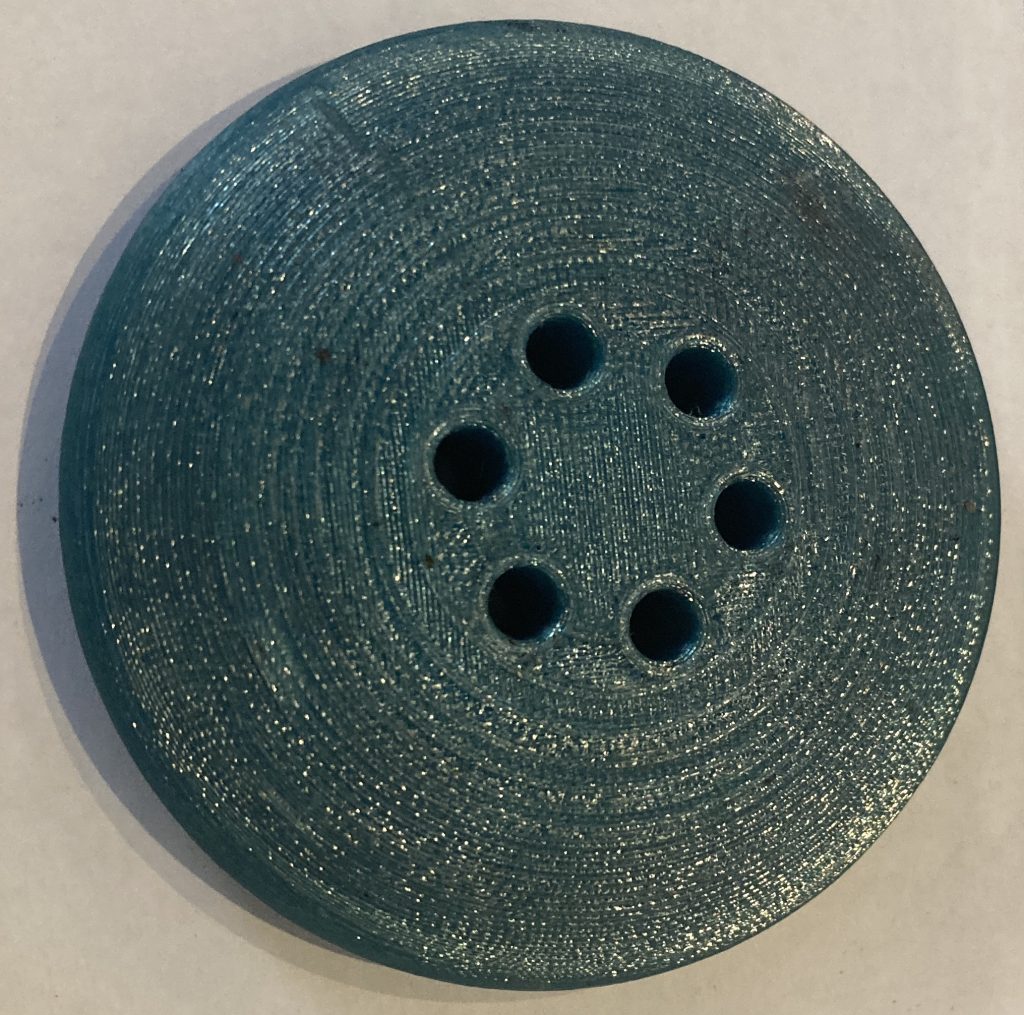
It was just too small. So I tried a bigger one, 70mm in diameter and about 14mm thick. I printed it on its bottom and it came out essentially solid (it had a 20% infill so it only appeared to be solid). It absolutely did not fly. Even with a rubber band it merely avoided toppling in air as it essentially followed a ballistic path across the room.

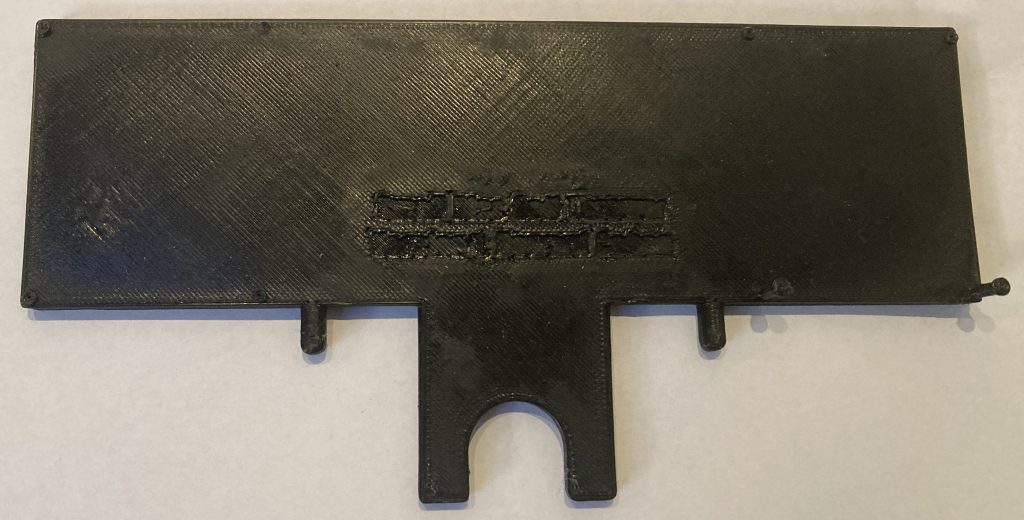
While I was waiting to find time to print discs I designed a thrower and 3D printed just the tray. It worked with a rubber band that was in the same plane as the disc. It was like a slingshot. And, it didn’t work at all. There was no way to impart spin. And, the small pins that held the rubber band broke off almost immediately.
That was when I explored just using a rubber band and my hand and I developed a couple of ways to flick the disc with spin just using those. But, it was chaotic and not really something one could get very good at. If the only point is to send them flying any which way then it works fine with just a rubber band. But, it wouldn’t really be fun for golf. It would be frustrating and you could not really ever get good at it, I suspect.
In the process if trying to figure out how to throw discs using only a rubber band and my hands it hit me that the main problem with my first thrower was that the rubber band was parallel to the disc and it needed to be perpendicular. Essentially, I needed something like a slingshot held at a 90 degree angle with the handle to the side. But, it needed to have a tray that allowed one to set the angle of attack and the hyzer/anhyzer angle when the disc is released. It needed to allow the rubber band to hit the disc slightly off center to impart a spin to the disc.
It took some thinking but I came up with a design that would be straightforward to 3d print in two parts that fit together and were held together when the rubber band was pulled back. I have yet to print one as of right now, but I believe that it will eventually work. Or, another design will work.
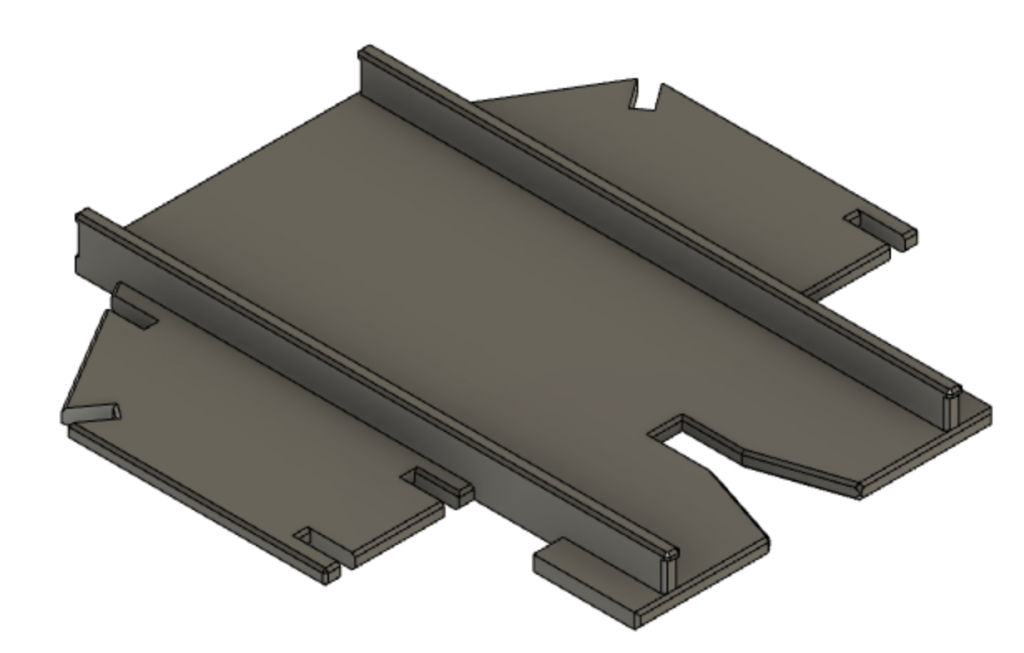
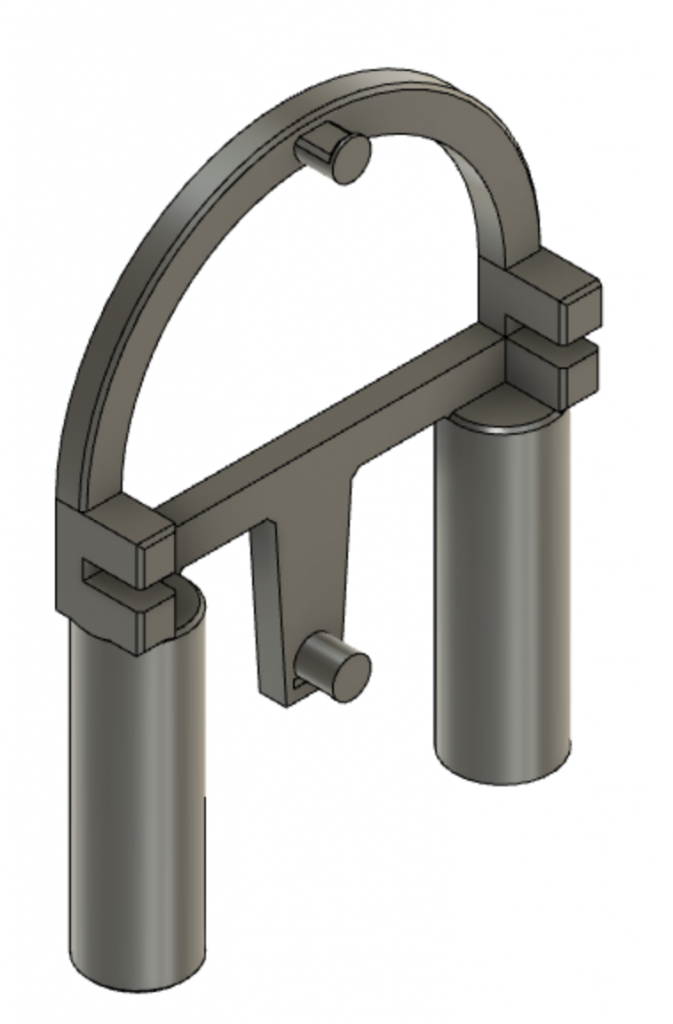
The handles work for left or right handed people.
I realized that a working launcher is worthless if the discs cannot be made to work. So, I stepped back and reconsidered how I was printing the discs. I knew I wanted a hollow disc but the only way I could think of printing them was either on the top of the bottom of the disc. It seemed completely crazy to print them on their edge.
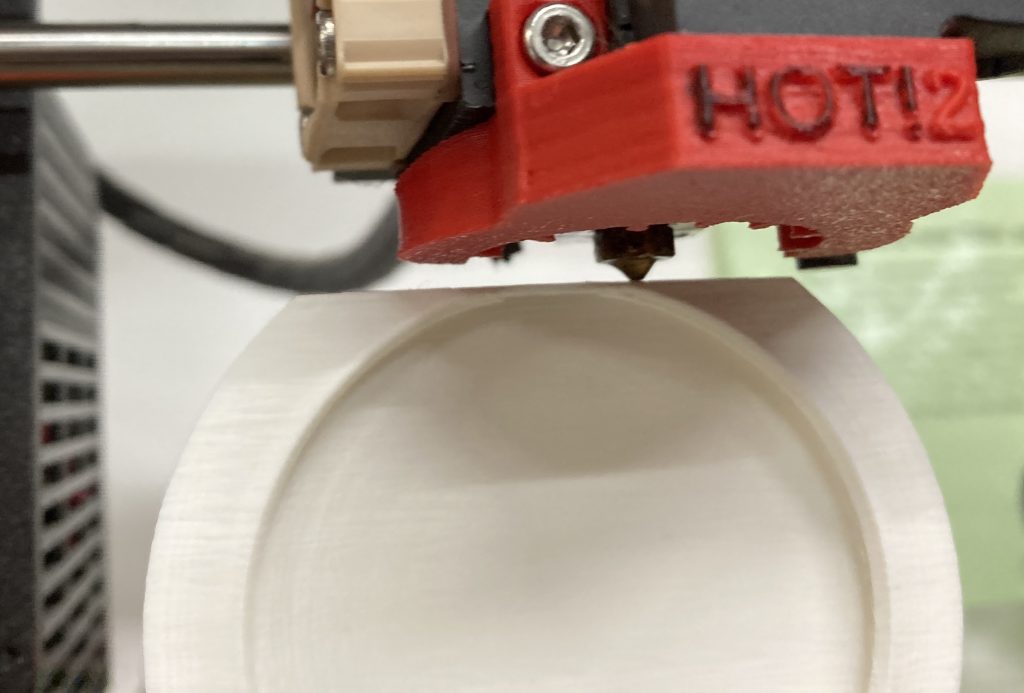
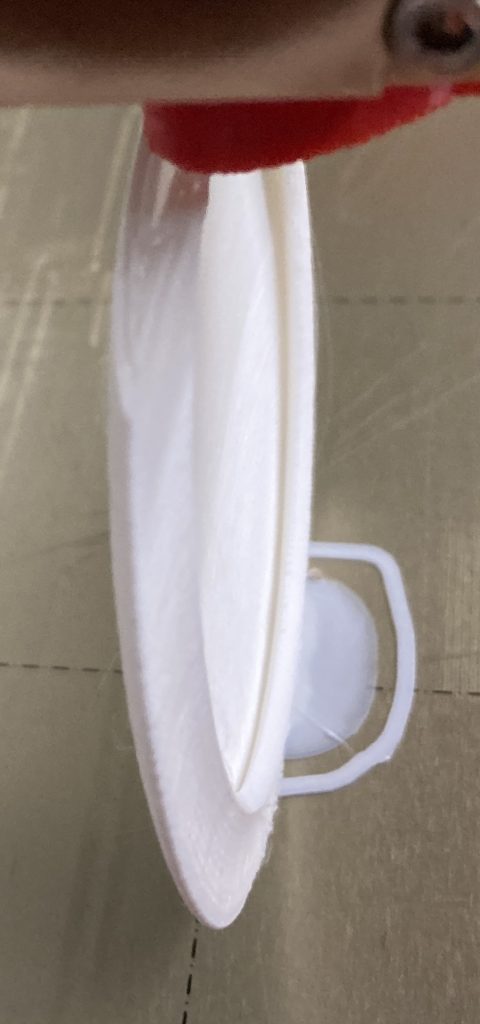
So I tried printing one on its edge. I added an 8mm brim under the disc and printed a disc that was 1mm thick with 0.15mm thick layers. Also, I got very lucky and oriented the disc so it was broadest in the XZ plane. On the Prusa i3 printer the Y dimension is accomplished by moving the table. Since it was only ever moving a few millimeters it never needed to accelerate quickly so the disc was not exposed to quick acceleration while it was being printed. Had I guess the other direction I think it would not have worked with the 8mm brim.
The disc on edge has an extreme slope on the bottom where it is essentially tangent to the print surface. I did not expect that to work at all. But, it worked. The layers were much wider than they were thick and the overlap was not too much. The edges of the disc curled up like a faint smile when the angle was severe at the beginning, but the extruder head ironed them down when applying the next layer and it all worked much better than I had any right to expect. I was shocked that the bottom printed.
Of course the middle printed fine. My 1mm thick 70mm disc took about an hour and fifteen minutes to print and after about an hour and five minutes the printout reached to the top of the disc where a bridge would be needed to complete the lower ring. It isn’t a long bridge so I hoped it would work. It worked.
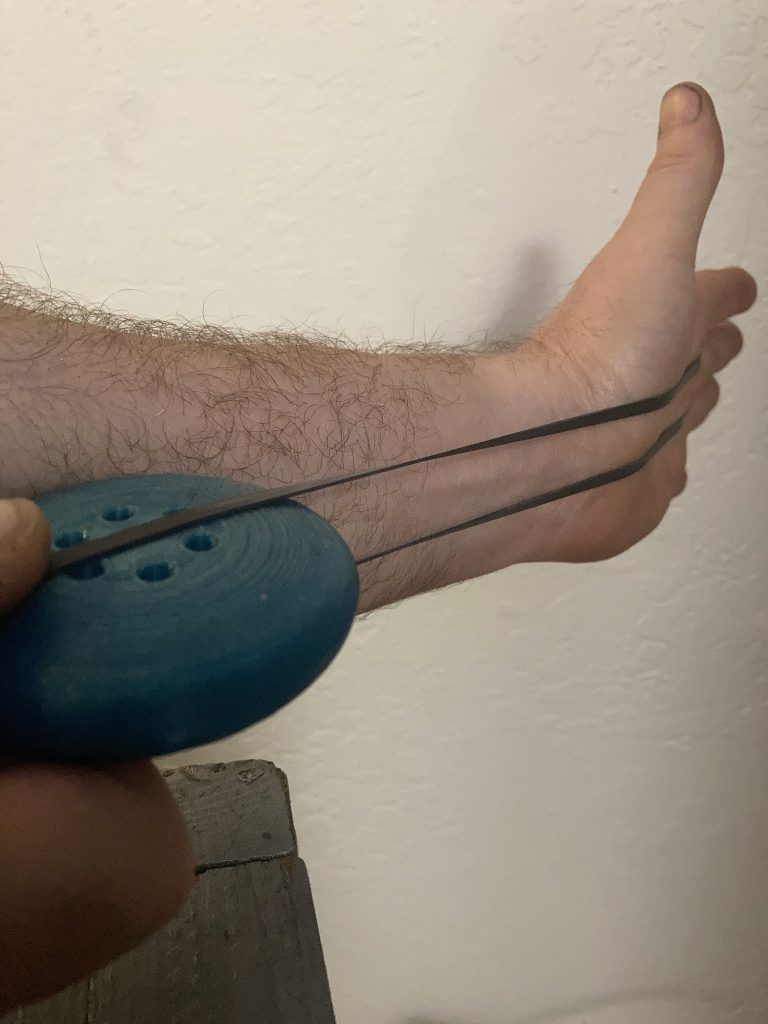
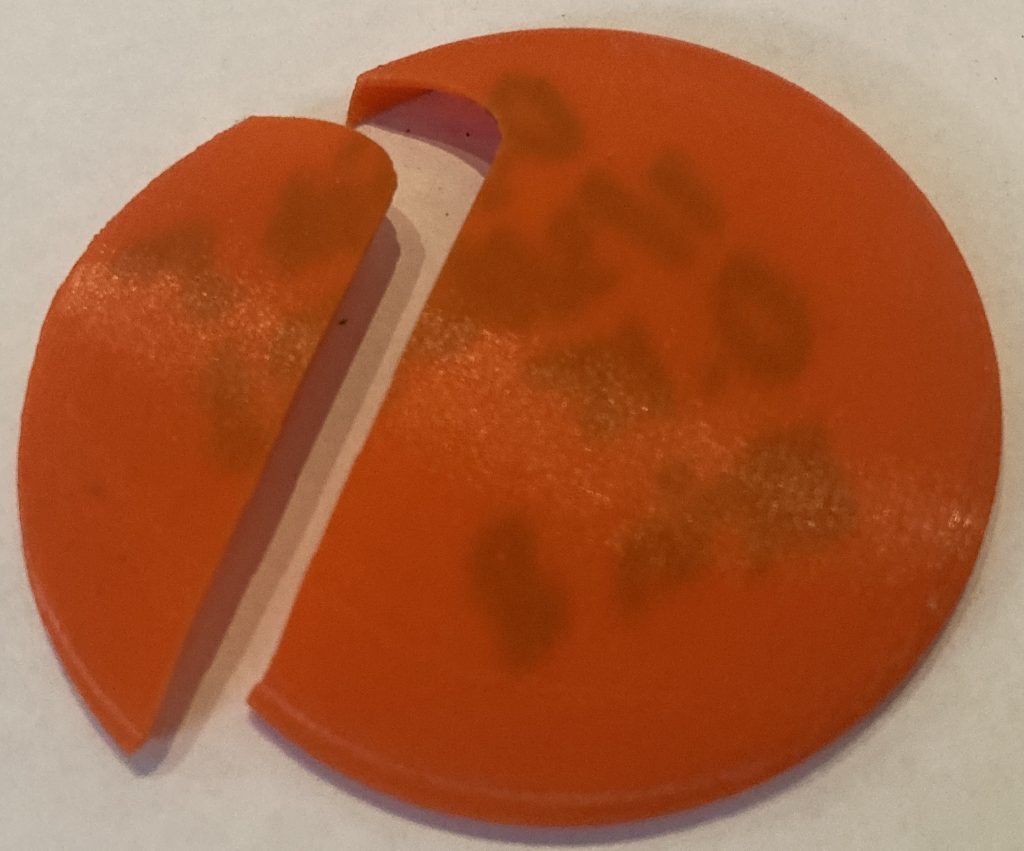
The first disc I printed vertically worked perfectly. I was amazed at how good of a job the printer did! I threw the disc by hand and it kinda flew but I couldn’t impart enough spin so it wobbled. I used a rubber band and it flew very well. It curved with hyzer angle. Then it flew right into a wall and cracked into two pieces.
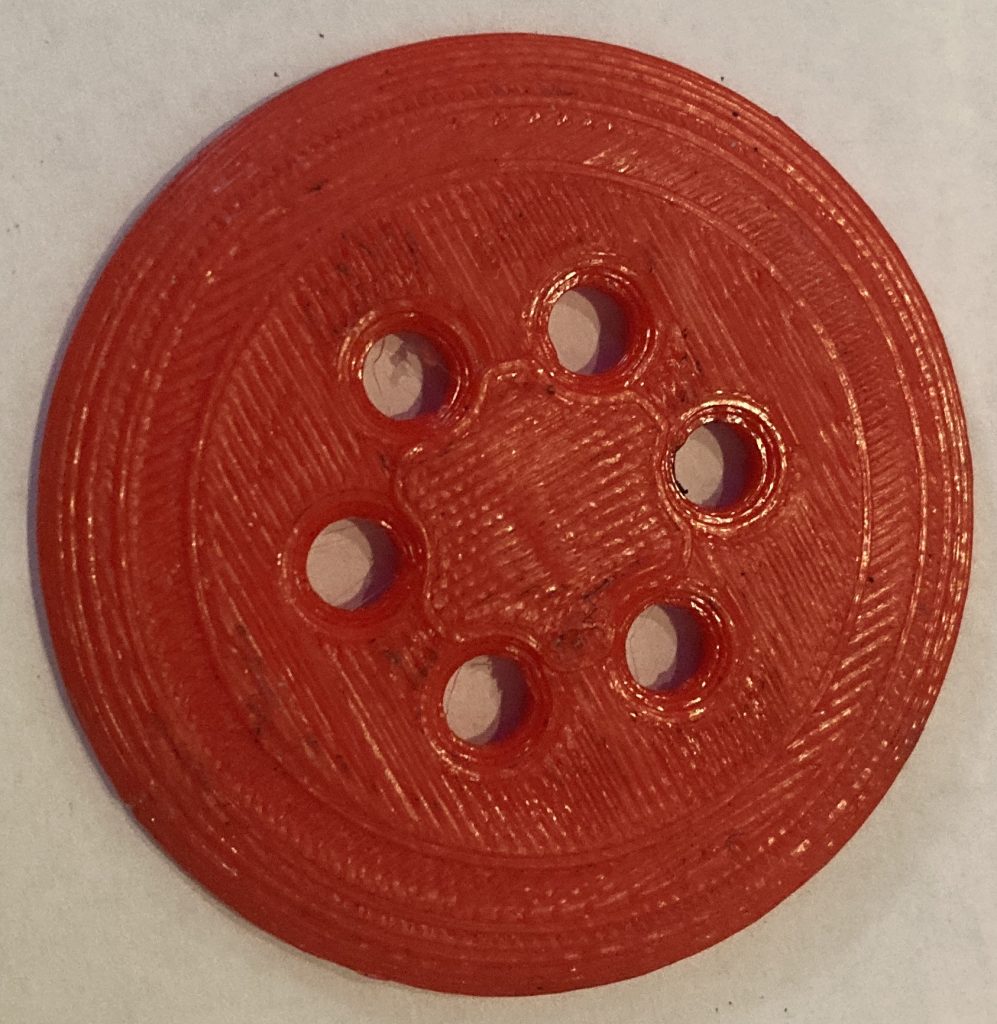
So, designed two more discs that were 2mm thick and printed them at the same time on two printers, a Prusa Mk 2 and a Mk2.5.
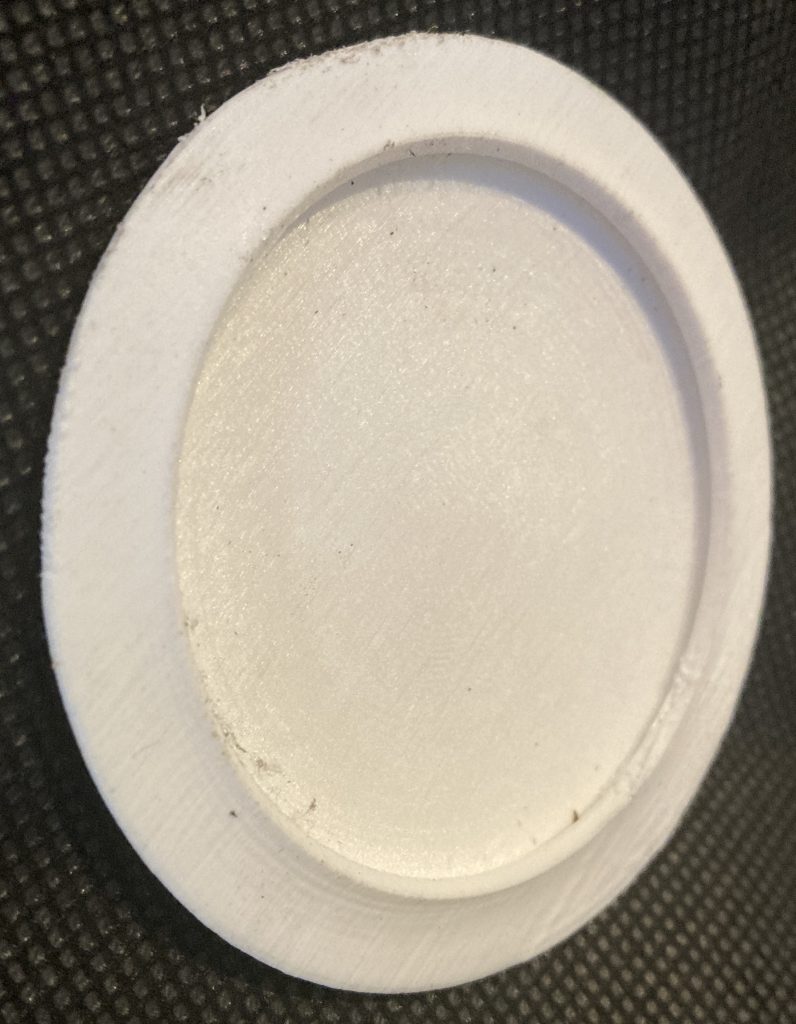
The two designs were different but both had the same raft and the settings were the same (0.15 mm layers, 8mm raft). Again the MK2.5 worked great and the disc printed with only very minor distortion.
And it looks like the middle of the raft is just beginning to break free.
This disc profile had a reverse under-curve that gave it an extremely sharp edge. It is a pretty stable disc, I think because it is heavy and is a very good gyro. A lighter disc might be more under or over stable.
But the Mk 2 print failed. The small raft broke free. I could see early on that the extruder was slightly moving the disc as it laid down each layer. It moved more and more. The center of the raft had lifted but the outside of it had not. So, it flexed and the print moved. The result got worse and worse until it finally started laying down string and I stopped the print immediately. I wanted to see what it looked like as it went forward.

The 2mm thick print that failed was essentially the same disc that had worked when it was 1mm thick. I cleaned both print beds with alcohol before beginning, and I did a careful first layer calibration, so I believe the problem was not related to initial adhesion so much as that the disc broke that adhesion when it got tall enough to act as a lever. The extruder exerts force on the printed object and that was enough to break it free.
You should stop it long before it moves this much.
This was as far as it got before I stopped it because it lost layer cohesion and was threatening to become a pile of strings.

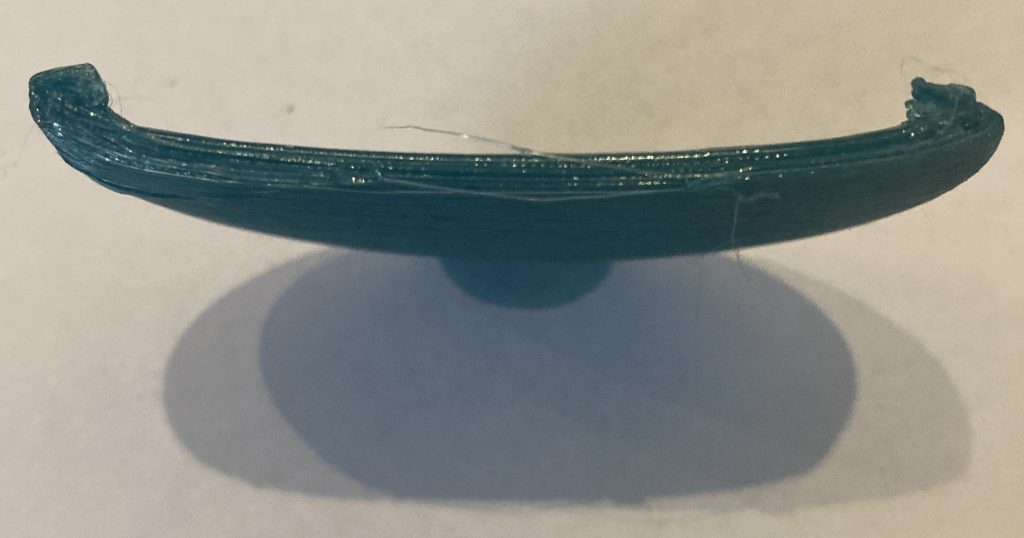
The higher the print got the worse the wobble was. The wobble led to blobbing and the blobbing made the wobble worse in a self-reinforcing cycle of increasing failure. By the time I stopped the print the top of the disc was moving as far as the disc was thick and I could see the brim had completely separated in the middle.
So, at this point I’m in a process of refining how to print discs. Once I have a good, repeatable method that works across disc profiles I will focus on getting the thrower to work well. It is an easier challenge, I think, because the parts are going to be easier to print (although the prints will definitely take longer).
If I can 3D print discs and a thrower, I think Small Disc Golf is a viable game that many people might enjoy playing. I think it is accessible to people who will probably never be able to play disc golf because of disabilities or mobility or strength limitations. I know Small Disc Golf can be played in more places than regular disc golf because every home, apartment and back yard can be enough space for a Small Disc Golf Course. And I know Small Disc Golf is easy to understand for anyone who follows regular disc golf and its amazing top players, or who participates in tournaments or watches them on the internet. There are a lot of people who love disc golf and some of them might enjoy the small version too.
I have no idea whether Small Disc Golf will ever catch on, but unless it’s breaking some kind of law or steps on some company’s exclusive rights, I’m going to see where I can take this.
Next up: Creative Commons CC0 License
Leave a Reply
You must be logged in to post a comment.