So, it turns out that the Falcon is hard to print. Very hard to print. It was fun to design, but that was only the first half of the challenge.
In fact, my basic approach to printing small golf discs that works for all six of my other discs failed on the falcon.
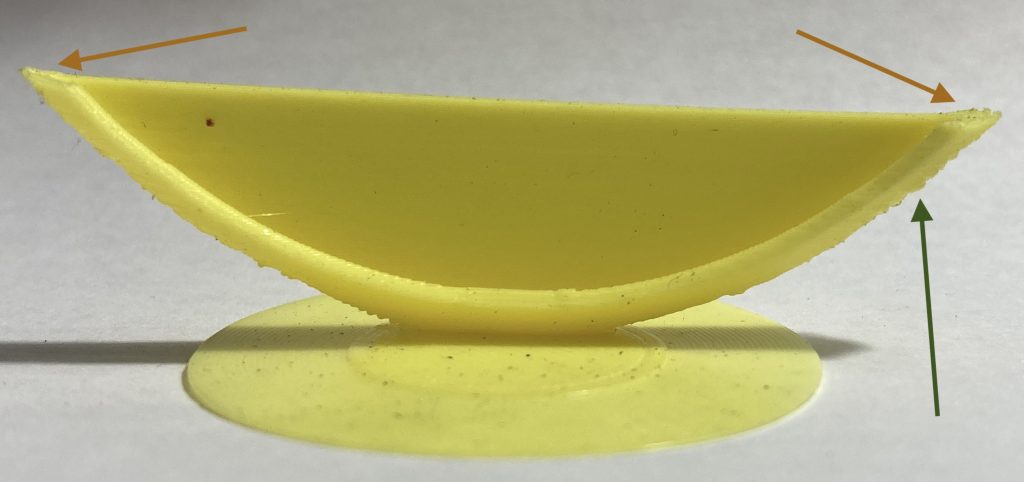
The bumps along the bottom on the left and right (dark green arrow) cause the tip to be slightly higher than the rest of the disc (across the middle). Each pass makes the tips get taller (orange arrows). It keeps accumulating and the nozzle pushes the sides of the disc down as it prints the tips. That makes the problem worse and worse. The disc rocks back and forth and the top layer is a big curve and not a horizontal line.
Eventually the downward force at the tips breaks the print base free (even partially) and the that allows the disc to rock even further. Eventually the nozzle will hit a raised edge and break the disc completely free. It’s a slow motion train wreck.
So, I tried reducing extrusion by 5% to see if that helped at all. It made it worse sooner.

So I tried printing it a lot slower, thinking it might help, but it didn’t.
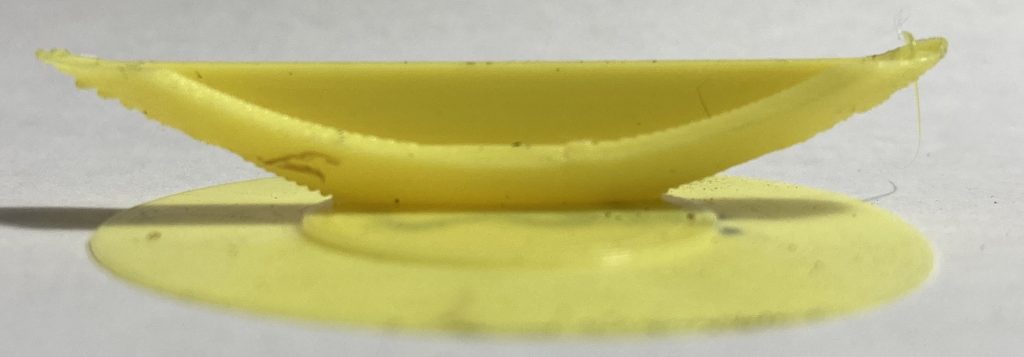
Each time I tried something new I only made that one change. I left the rest of the settings as they were for the other six discs that work. If I understood how 3D printers worked better I could explore parameters in groups that work together, but I decided to just vary one parameter at a time.
So, I tried turning up the nozzle temperature to 210 and that didn’t help.

I increased the retraction speed to 40 mm/s. No bueno.
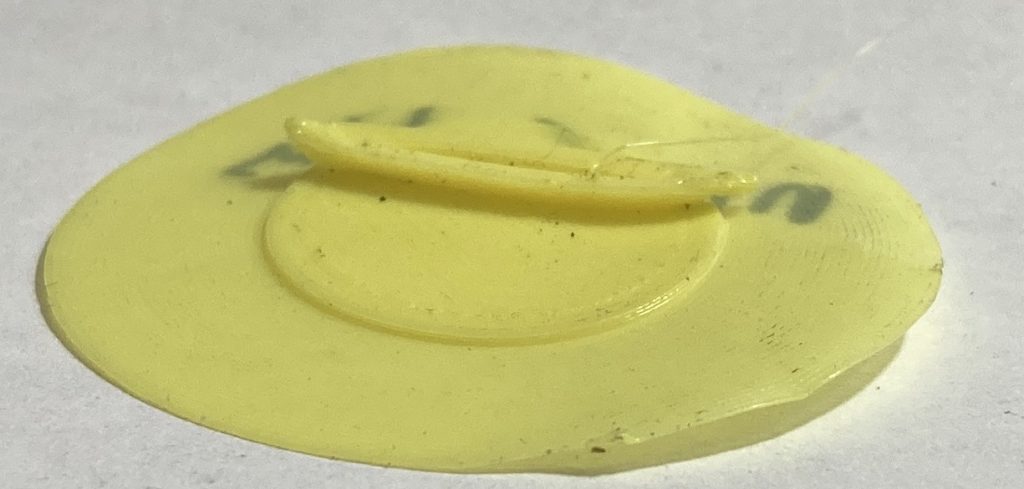
Most of these attempts just made it worse sooner.
I tried variable layer height with the thinnest layers at the top and bottom of the print. Nope.

Awful.
Then I tried my original settings again, just as a control.
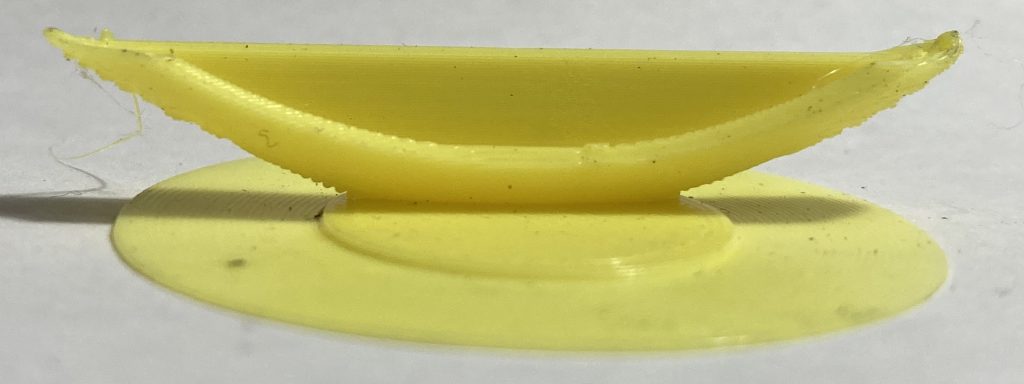
Still didn’t work in exactly the same way it originally didn’t work.
So, I began to realize that I would have to try supports, even though it is for me the last resort because supports are all wasted plastic.
I painted on supports and found that I also needed to paint on support blockers as well. My first attempt wasn’t wide enough – didn’t support enough of the bottom of the disc.
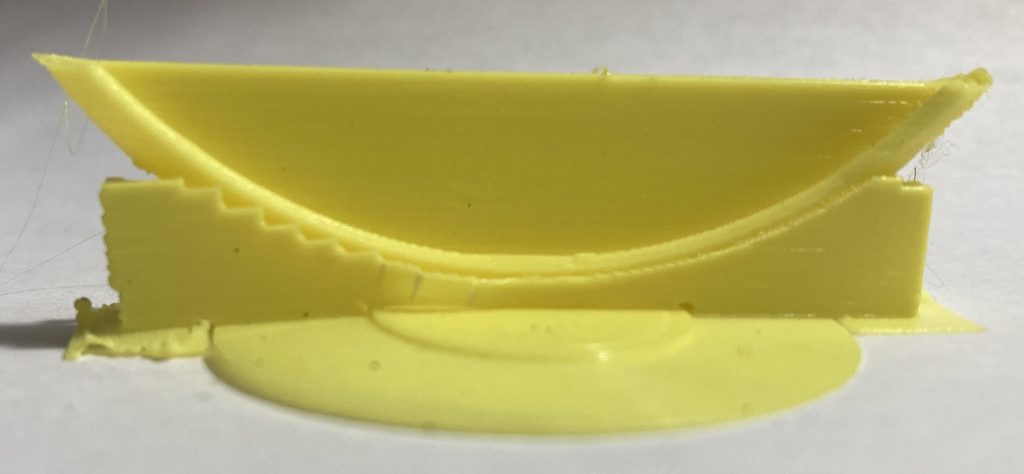
That just pushed the problem higher up the sides. And, the supports I painted covered the entire edge and that made for big supports – wider than the disc was thick.
Then, I decided to change to blue filament. Both because I was running low on yellow, but also because the blue roll was new and would not have had much time to take on any moisture.
I painted a support line around the outside edge where the diameter is at its maximum and I made sure the supports went almost half way up the side to where the side is almost vertical.
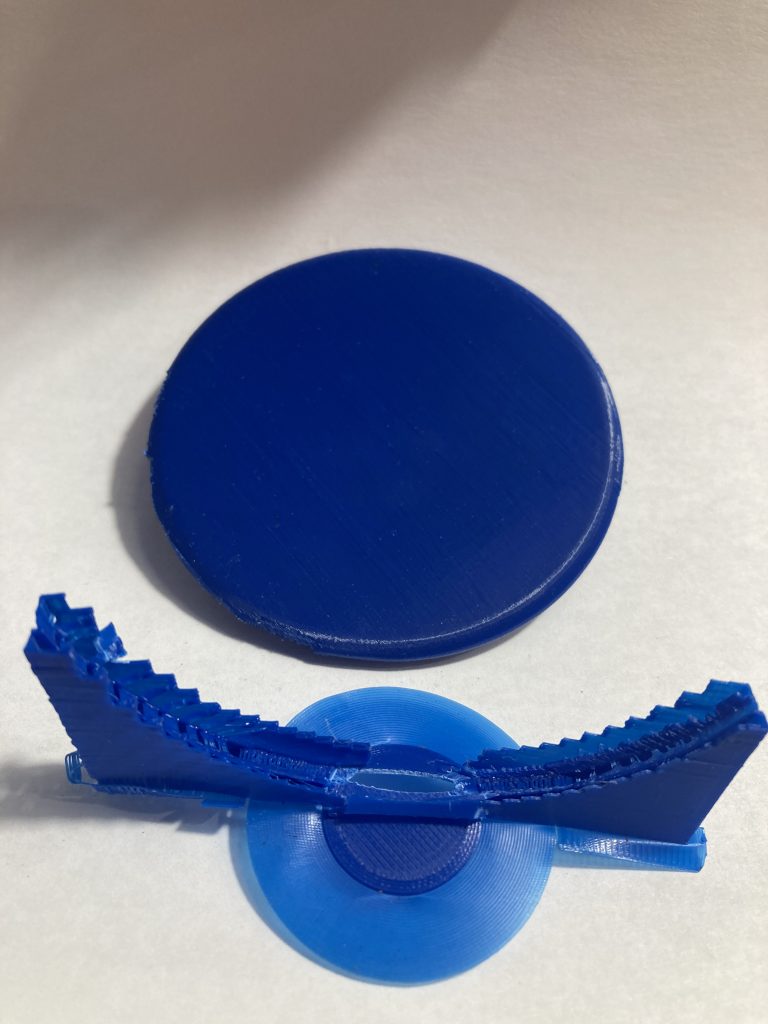
And that kinda worked but when I removed the support material I found that it still had a really rough bottom edge. And, a lot of the support material was wasted / not helping anything.
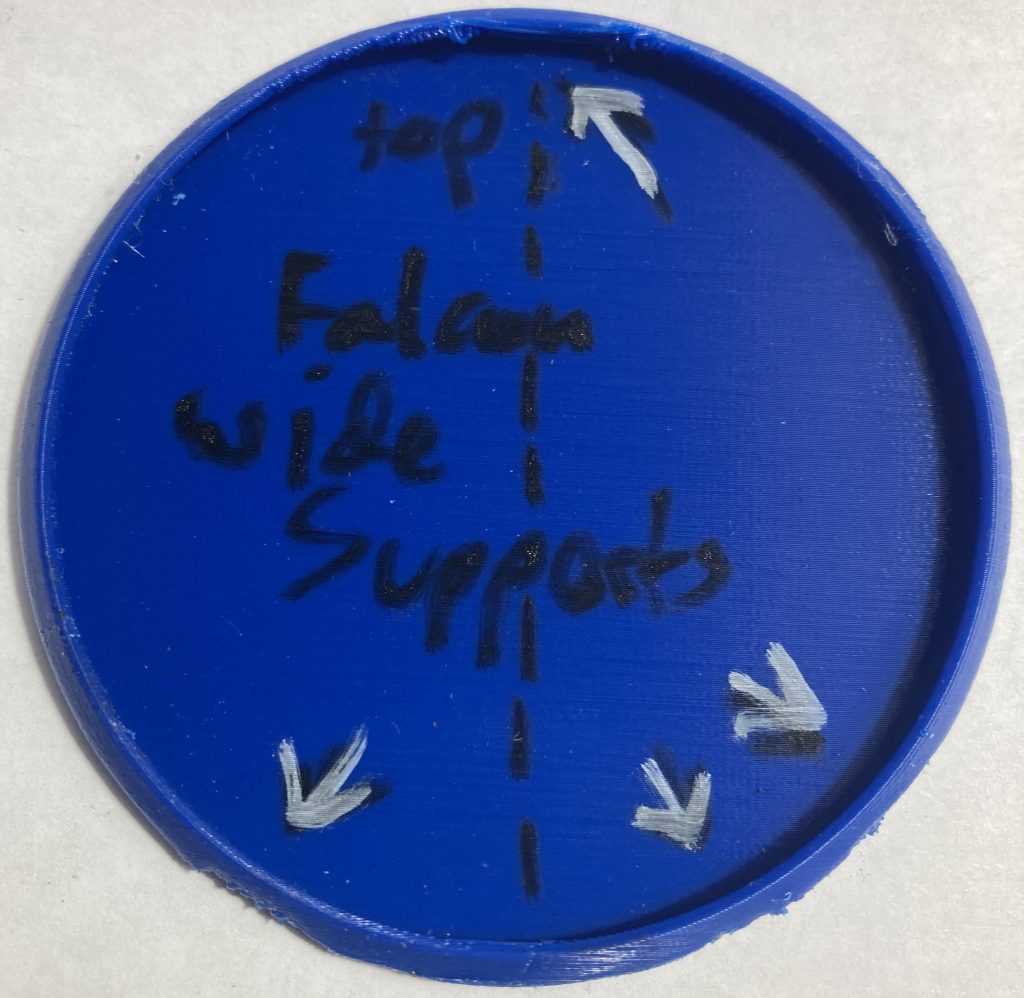
The white arrows point to an extremely rough edge – unacceptable. But the rest of the disc looked OK, but a lot of the support material was wasted / not helping anything.
So I painted much thinner supports, just along the narrow edge where the diameter is at its maximum.
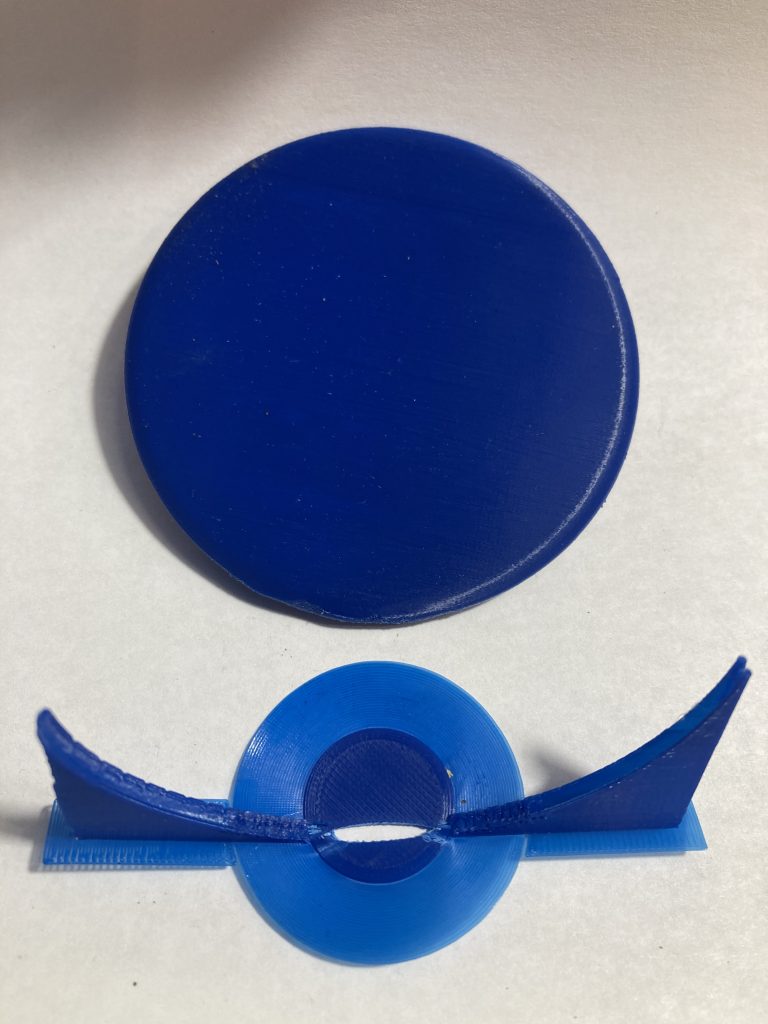
That worked a lot better for the bottom of the disc and I got a really good result along the entire bottom edge. But, the top edge was not very good. I thought about allowing it to build support material up from the inside edge of the disc and decided against it.
Instead, I decided to try organic supports in the newest alpha version of the Prusa Slicer.
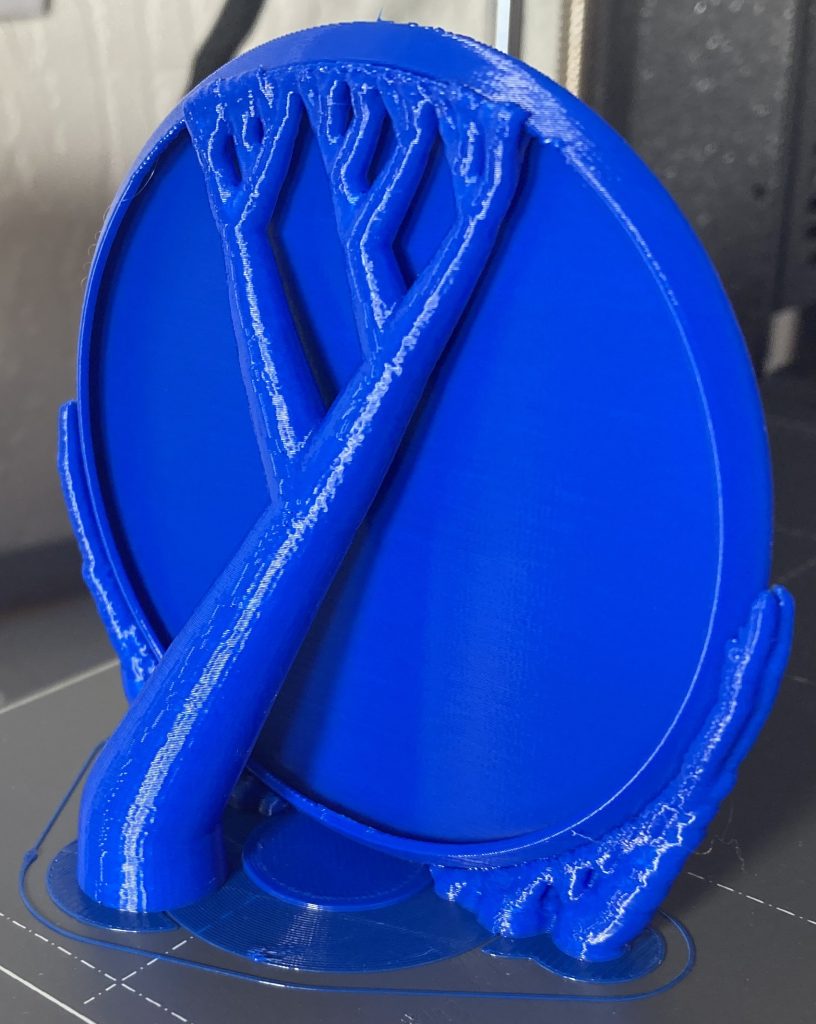
That worked very well everywhere there were supports and on the top edge, except that the top supports were not quite wide enough and a problem developed along the top edge. I’m surprised it “fixed” itself because the print nozzle was knocking the support structures around when it passed over them in one direction.
I refined where the supports were and the next version worked very well.
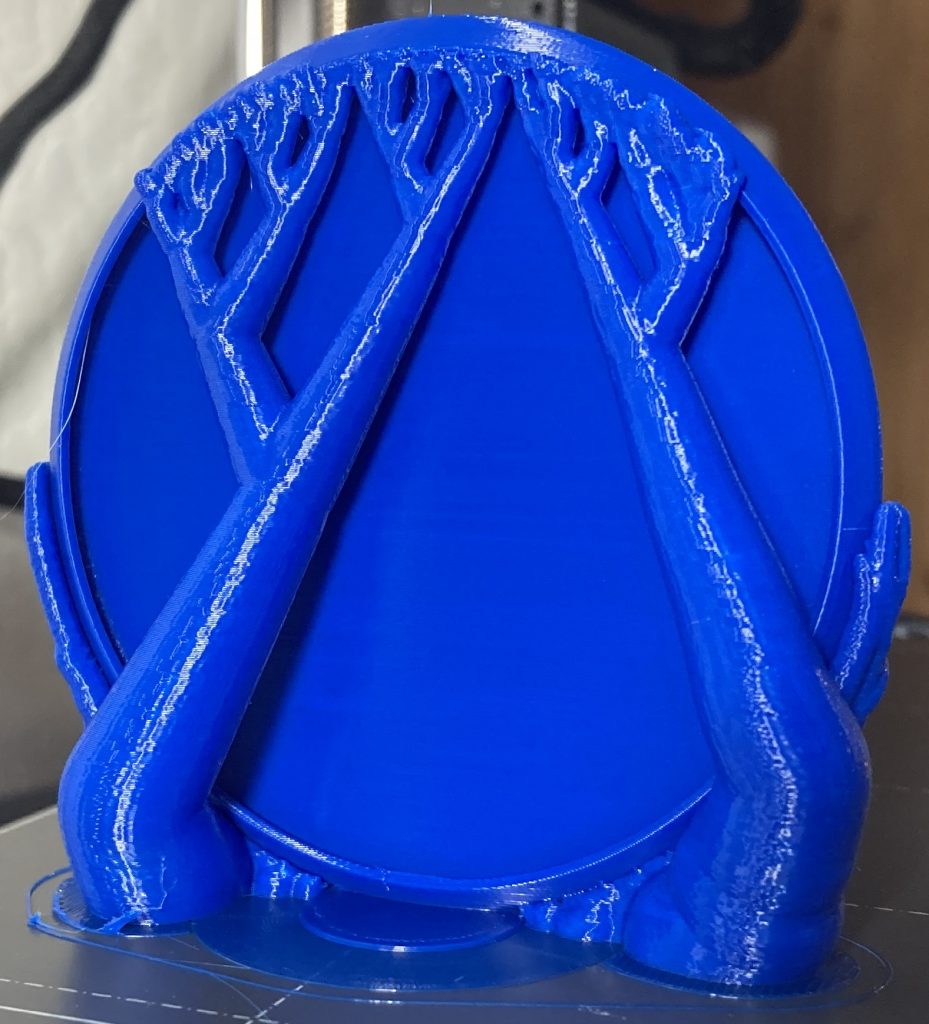
But the supports were hard to remove because the top is trapped under the edge of the disc and the bottom is connected to the print base.
The print base. Why does this disc still have a print base?! No. Good. Reason.
So, I removed the print base and repainted the supports and blockers.
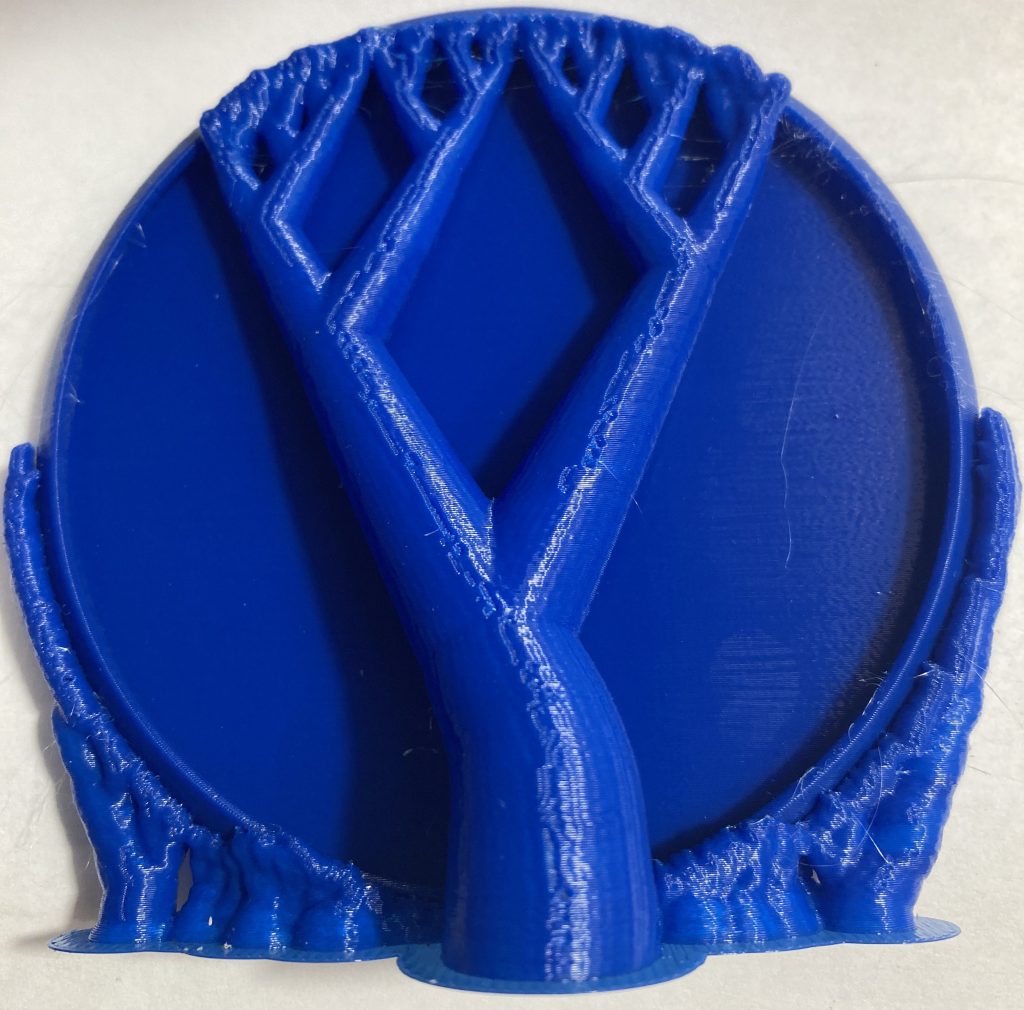
I got stringing, and there was a bump near the top, but the print head mashed it down and it didn’t seem to ruin the print. This one ran at 200ºC (the default for the filament, not my own default of 190.) The stringing isn’t nice, but obviously no print base was needed.
Probably because of the higher temperature, the supports were very hard to remove from the above model. I had to cut the bottom away bit by bit, although the top broke free as expected.
So, I dropped the nozzle temp to 190ºC, and that eliminated 99% of the stringing.
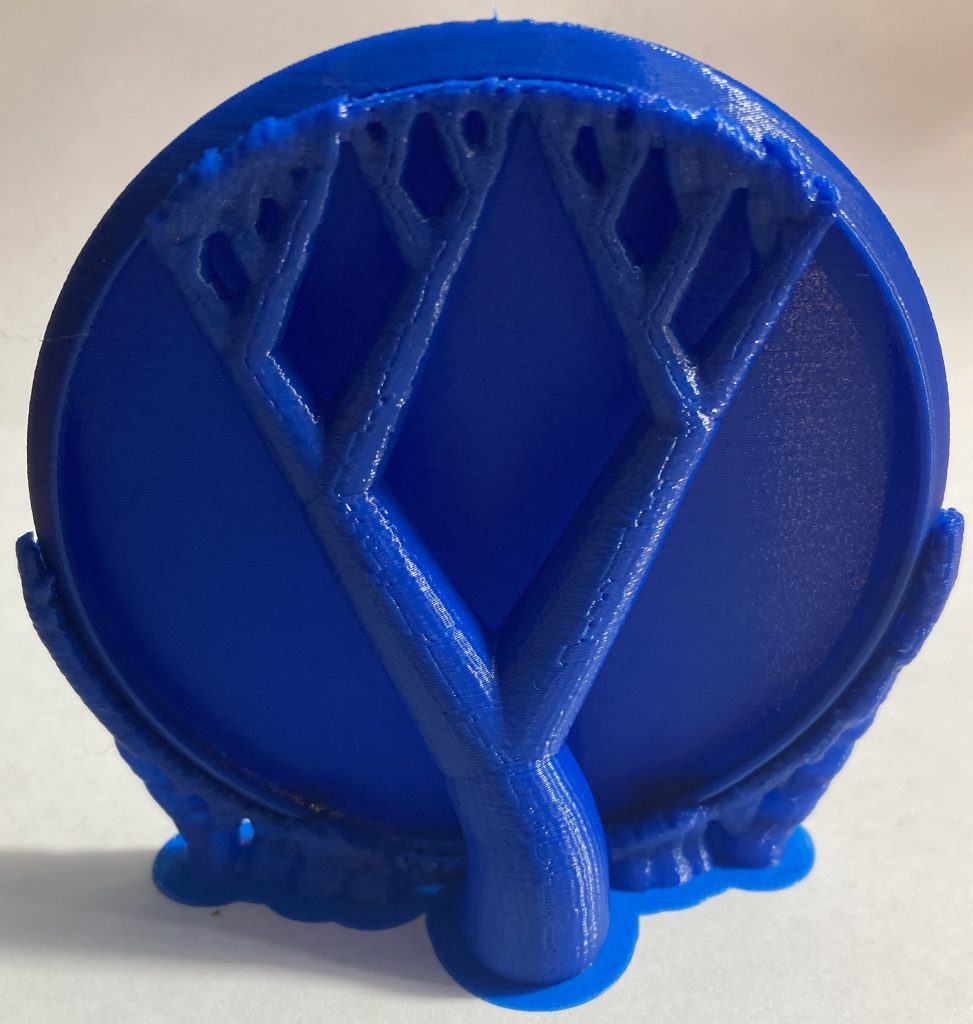
Unfortunately the supports on the bottom were still very hard to remove. They damaged the disc when they were clipped off.
I increased the XY% to 75%. That is a parameter that started at 60% by default. The larger the percentage the easier it is to remove the supports. I’m sure there is a tradeoff but it doesn’t seem to be bad for printing discs. The XY% change worked perfectly and now the organic support snap right off and leave almost no artifacts.
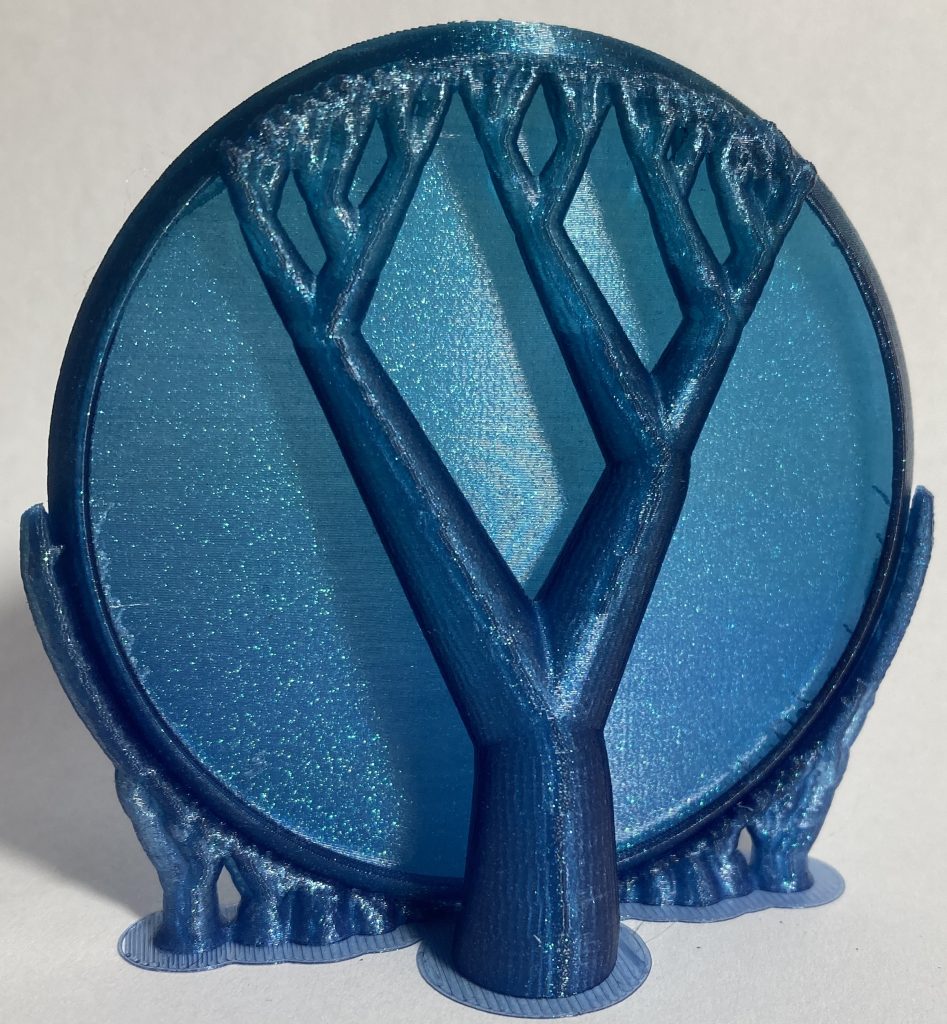
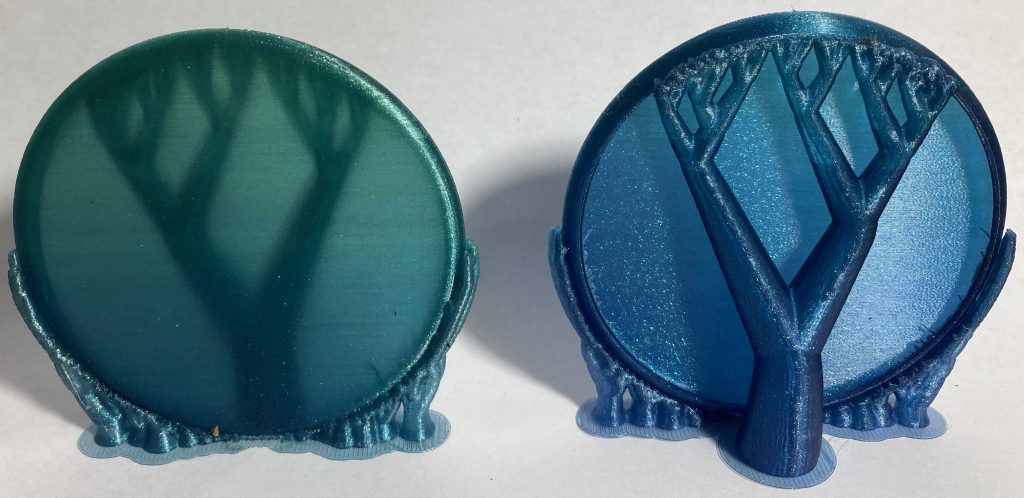
Now I can reliably print the Falcon. It’s unfortunate that it requires supports, but these organic supports are very cool and can be saved and used as a stand for the discs.
Note: At around 68mm high there is sometimes a spot that gets bumped by the nozzle. It happens where the disc emerges from the supports. The nozzle might bump into this spot, and the disc moves slightly to the side when that happens. But, the disc and its supports are so stiff that it immediately goes back to its original position. The print still works as long as the nozzle doesn’t break the disc free, which I’ve never seen happen yet.
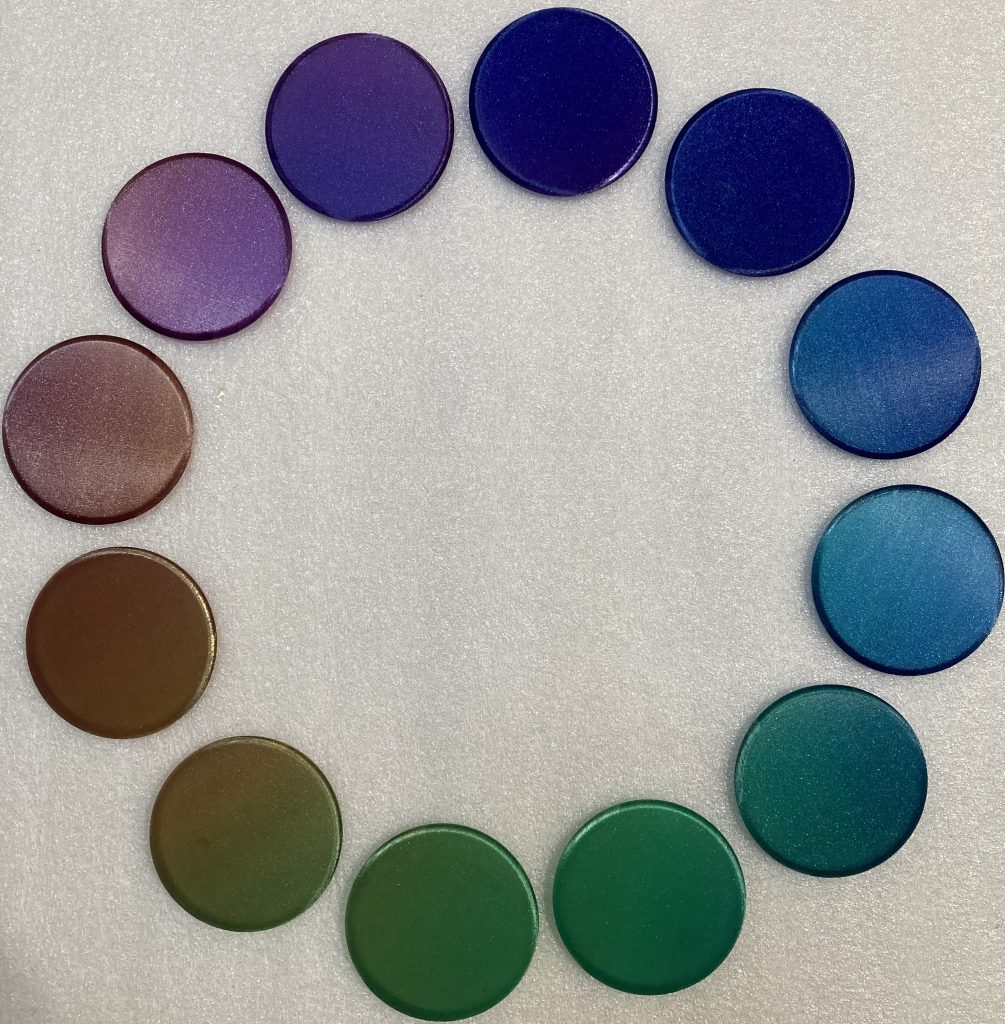
I tried printing discs using my most unusual PLA, a rainbow sparkle roll from LOCYFENS that changes between a range of darker colors all with sparkles. It changes color slowly enough that a given disc is one color but the next disc is a different color. It has been so hard to print discs with this filament with my traditional approach that I gave on it. But this filament works perfectly for the Falcon with supports using the same profile that works on regular Overture PLA.
